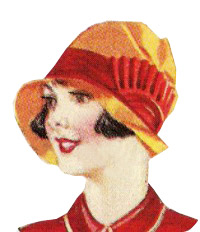
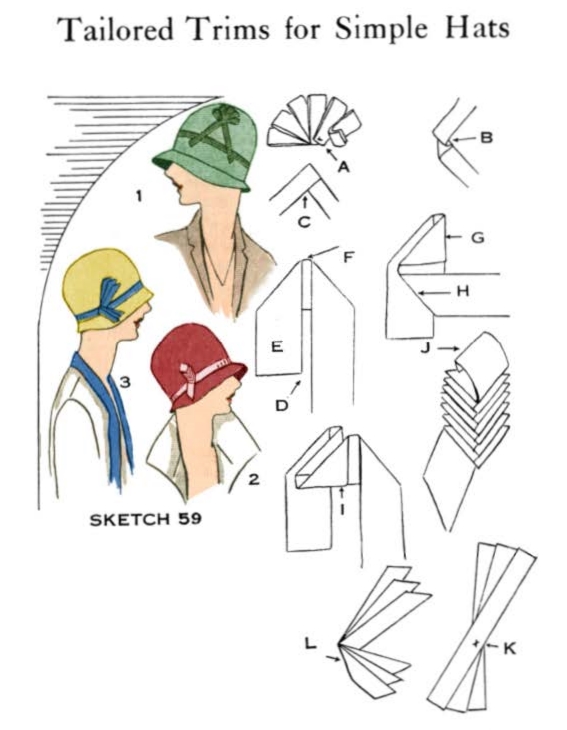
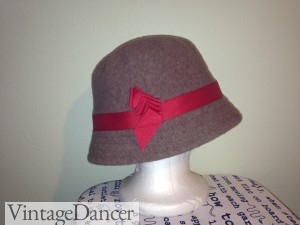
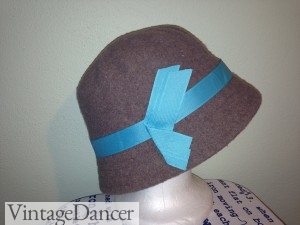
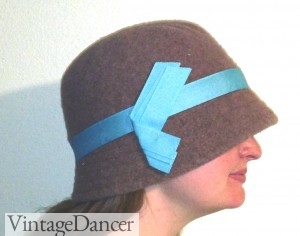
Today, I have a quick tutorial on decorating a 1920s cloche hat with ribbon. I found these directions in the 1929 Easy Ways to Pretty Frocks booklet. What I love about these three designs is that they are simple, fast, cheap, and authentic. Women in the 1920s loved to redecorate their hats year after year. Following directions in home arts magazines and booklets, a hat could be remade over as often as she wished.
Give these a try and let me know how it goes in the comments.
Step 1. Buy a Cloche Hat
Starting with a plain color cloche hat made of wool, fabric, velvet or straw. These are plentiful in local stores right now. If you need one online, I have a bunch of great options on the 1920s Cloche hat shop page. It is okay if your hat has a bunch of decorations on it already. Usually these are easy enough to remove.
Step 2. Choose Your Supplies
The directions in the booklet say to use a variety of 1/2 to 1 1/2 inch thick grosgrain ribbon. Your design, hat size, and personal preference will determine which size is right for you. For all of my examples, I used a 1 inch ribbon, but I think I would have liked them a bit narrower.
Choose any color you like. Contrasting colors were popular in the 1920s. Red, orange, blue, green, black, purple, yellow or glittering gold. Whatever color you choose, don’t think about matching it to your dress — instead, match it to another accessory such as your necklace, purse, or shoes. See 1920s hats for inspiration.
Step 3. Study the Design
Buy enough ribbon to make two or three attempts at these designs. They are simple, however design 2 confused me at first and I had to redo it. Study the design and practice, practice, practice! If you really need written directions then you can buy the booklet, but honestly, the written directions didn’t help me at all.
Green Hat 1- Follow Steps A, B, and C
Red Hat 2 – Follow Steps D to J
Yellow Hat 3 – Follow Steps K and L.
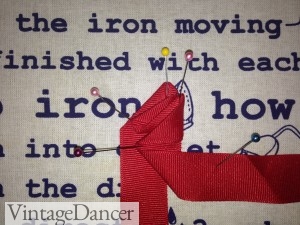
Tip: As you fold the ribbon according to the diagram, pin the ribbon to your ironing board and press flat. Do this for each fold allowing a few seconds to cool before starting the next fold. At the last step, take out the pins and press on both sides.
Step 4. Attach the Ribbon
Once you have your design complete place your ribbon art on the hat and pin in place. You can either use fabric glue to attach the ribbon on the hat or for best results hand sew them in place. Use “No frey” or clear craft glue on the ribbon edges to keep them from unraveling.
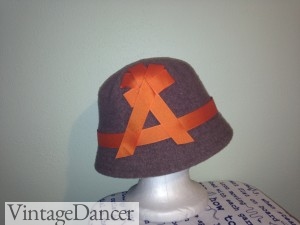
Here are my completed hats:
I have more hat patterns listed in the 1920s sewing patterns page. Try them out and let me know how yours turns out.
Debbie Sessions has been teaching fashion history and helping people dress for vintage themed events since 2009. She has turned a hobby into VintageDancer.com with hundreds of well researched articles and hand picked links to vintage inspired clothing online. She aims to make dressing accurately (or not) an affordable option for all. Oh, and she dances too.
