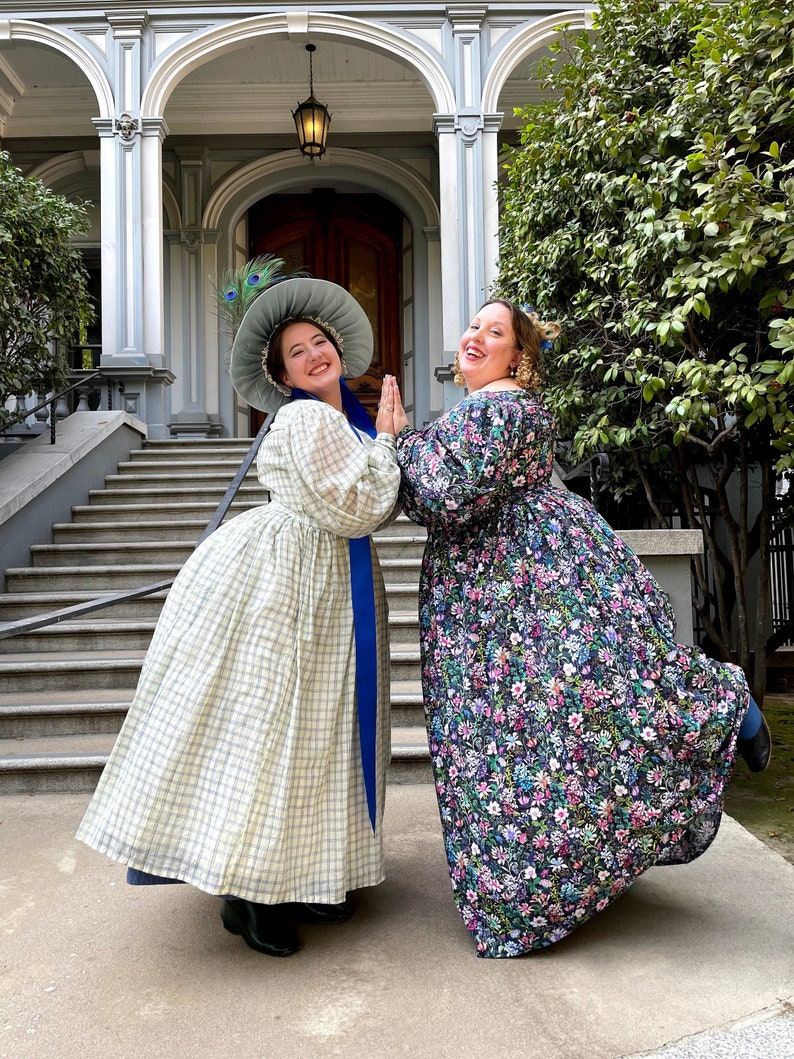
Today’s post was contributed by my friend and fabulous costumer Sue Woods.
I am always flabbergasted by her beautiful handmade historical costumes as well as drool worthy collection of vintage clothing. I knew she would be the perfect person to give us all some tips on how to get started with Victorian costuming, especially the 1860s during the Civil War.
Here is her guide:
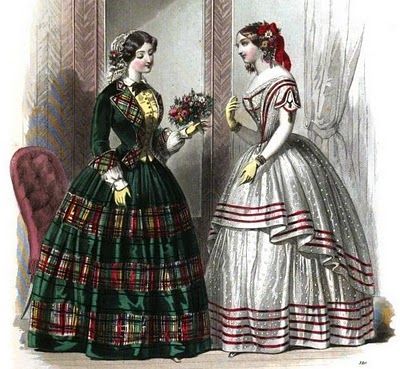
1860s Civil War Era Dresses
You’ve been attending reenactments since you were little. You’ve always admired the Civil War costumes the ladies wore. Now, you want to dress up as well and join their ranks. But, you are on a very tight budget and/or have very little time or costuming experience. What do you do?
The civil war period is a good starting point for anyone wanting to get into historical costuming or reenacting. Not only is it an easy look to achieve with tons of history surrounding the period (1860-1864), but in America and elsewhere, you will have many opportunities to wear your lovely new ensemble.
In this article, you will learn about some alternative methods to getting an accurate ‘looking’ civil war costume on a budget and with very little time and expense.
You my also enjoy reading about 1850s-1860s “Dickens Era” clothing and costume tips.
Civil War Skirts and Dresses
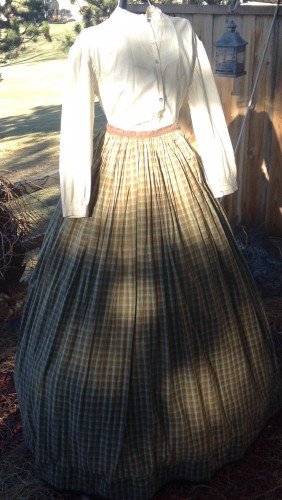
My Skirt and Blouse
First, do your research. Study up on the patterns, colors, and prints that were frequently used. Do lots of research on construction (small details like the skirt facing on civil war gowns and boning in the bodices, etc.). “The Dressmaker’s Guide” by Elizabeth Stewart Clark is a really good book for this.
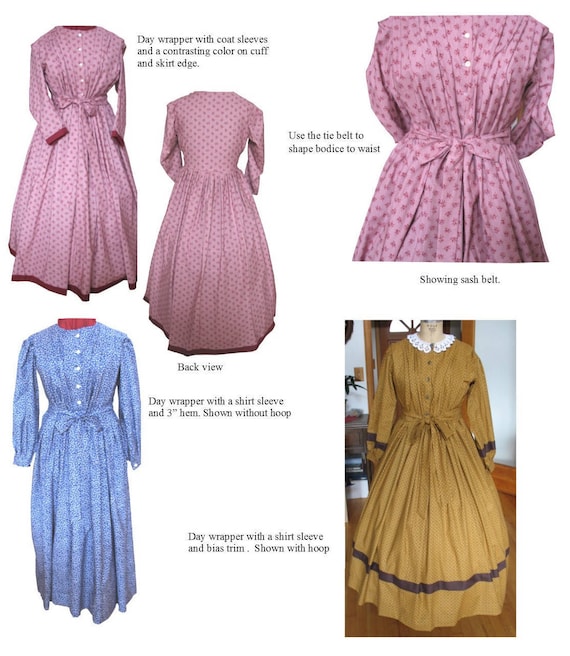
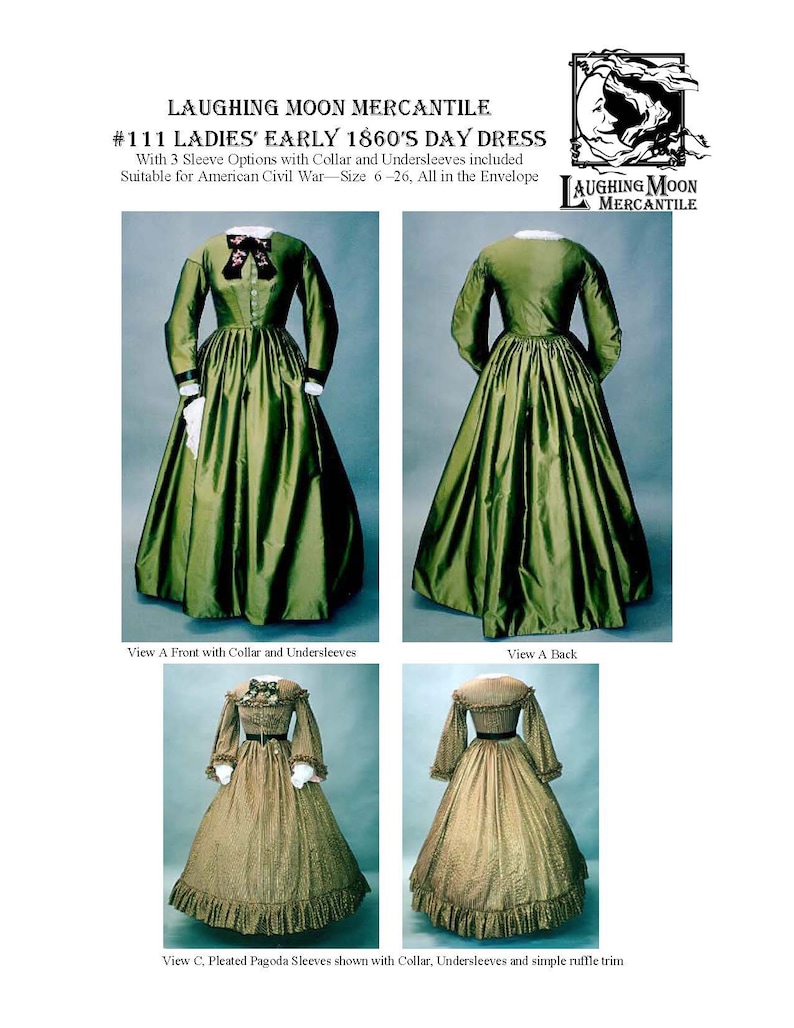
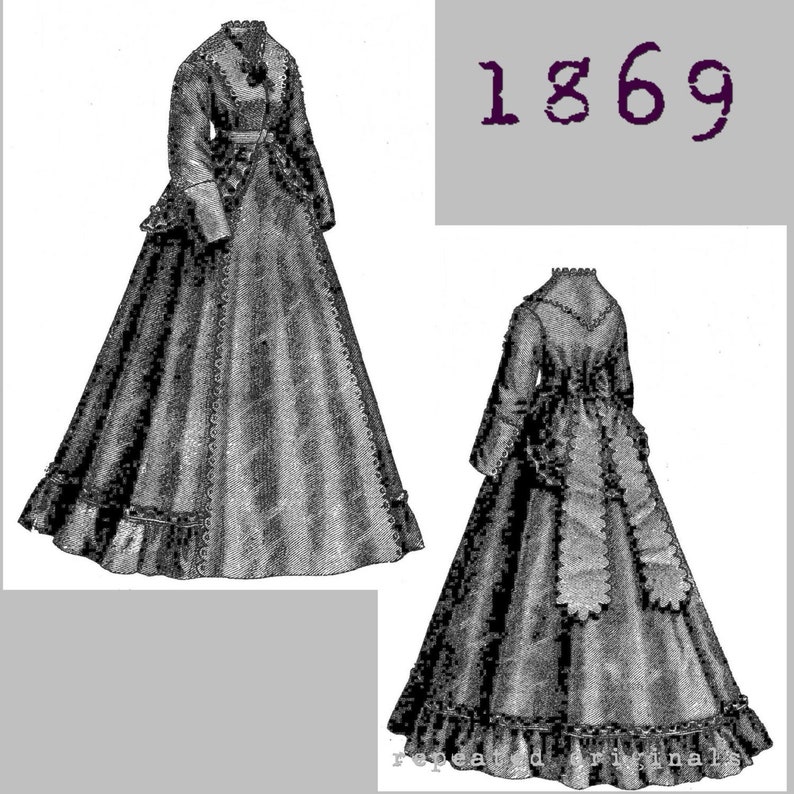
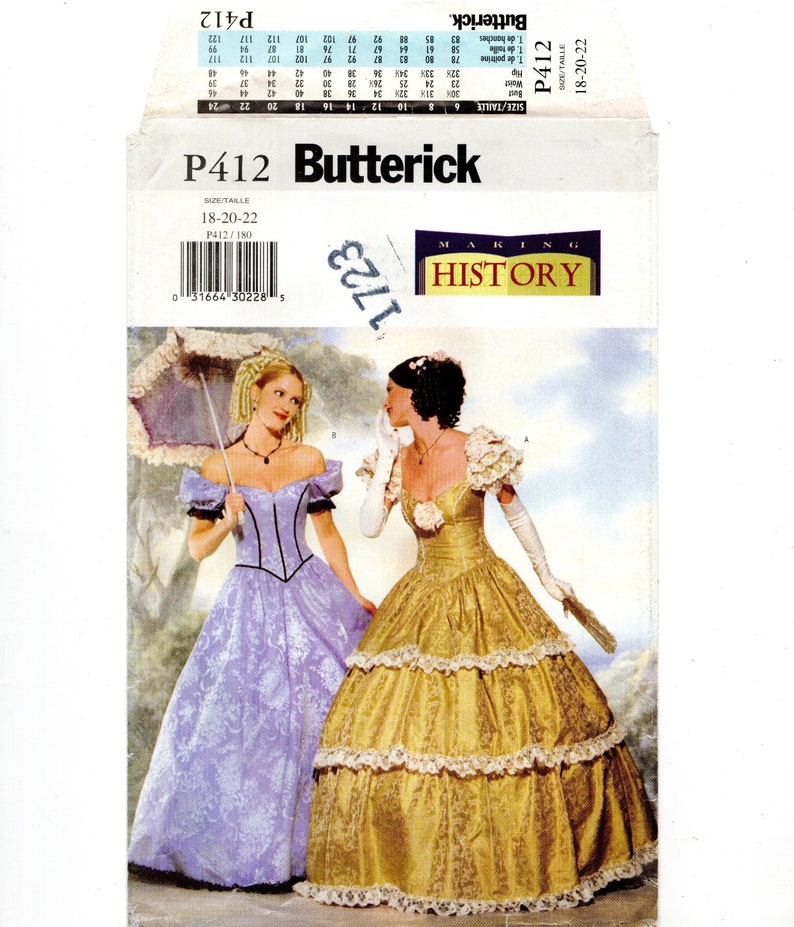
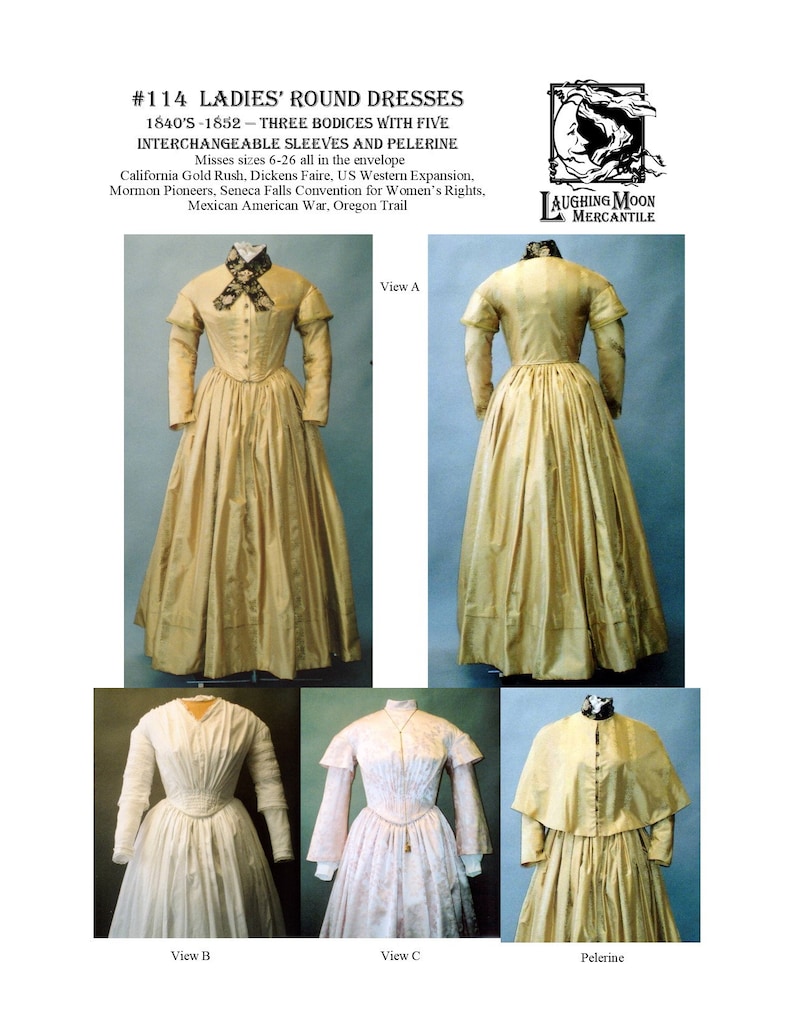
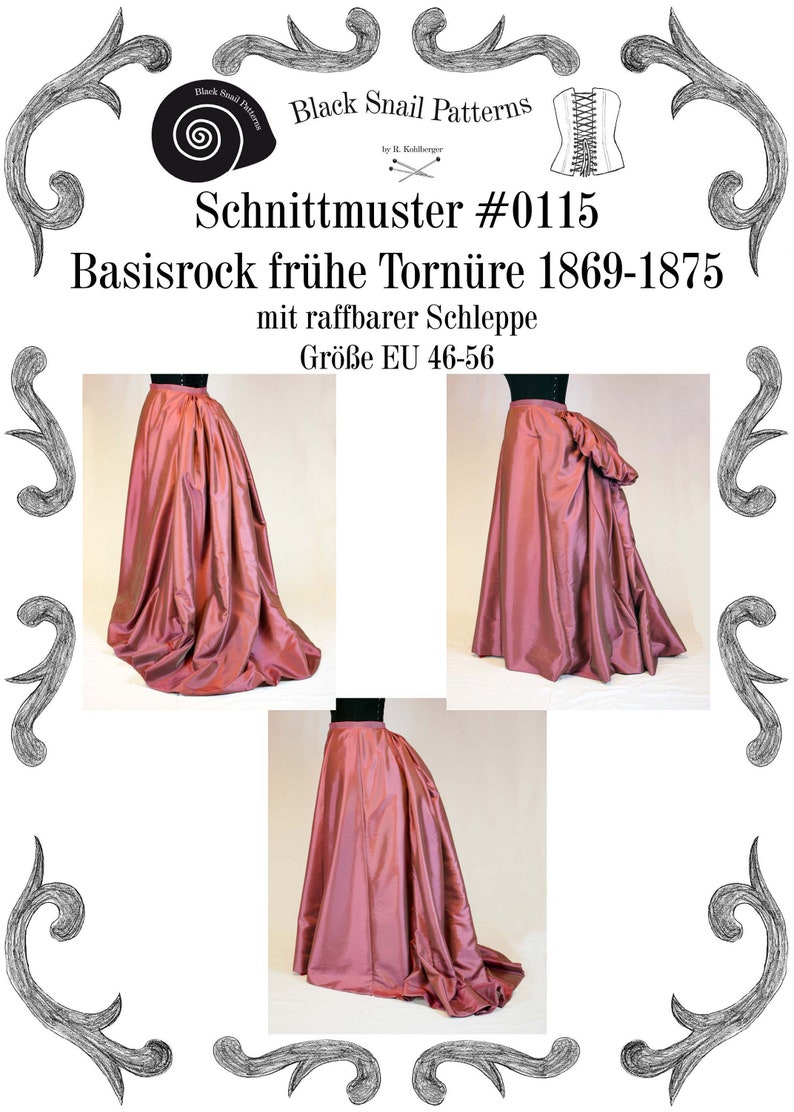
If you wish to try your hand at making your own, there are some decent patterns from the Big 4 (McCall’s, Butterick, Simplicity, and Vogue), but I personally love Truly Victorian and Laughing Moon.
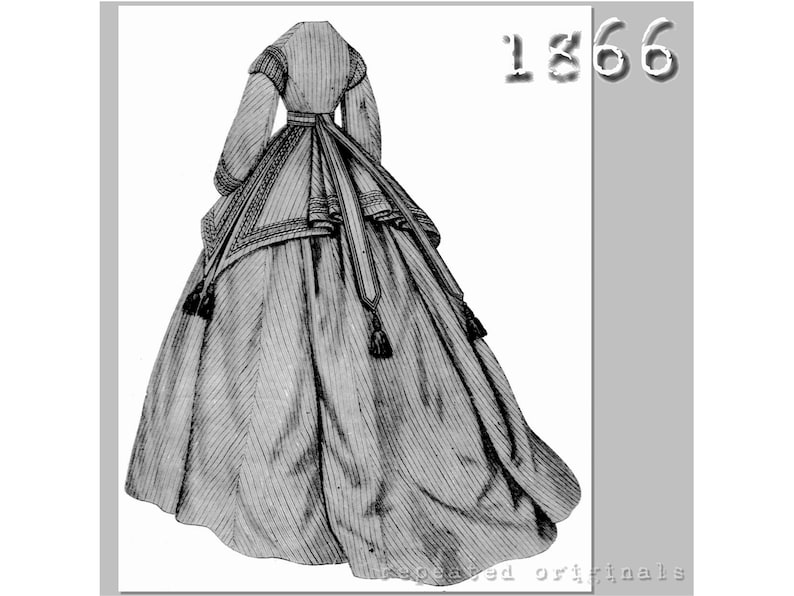
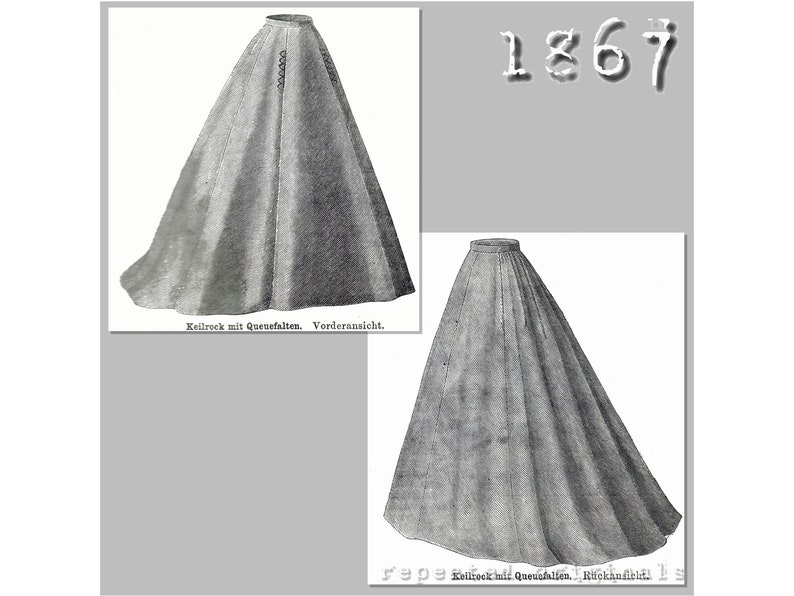
Skirts are usually just a big rectangle pleated in a particular way (towards the center front and center back and away from the sides) to a waistband ….very easy to make! A bed sheet bought at a thrift store can be a great budget fabric for much of your first civil war ensemble.
For ready made Victorian / Southern Belle dresses look here.
Civil War Blouses
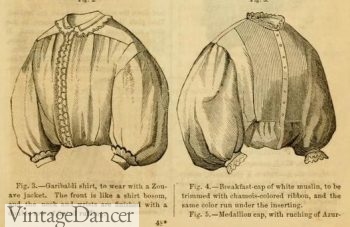
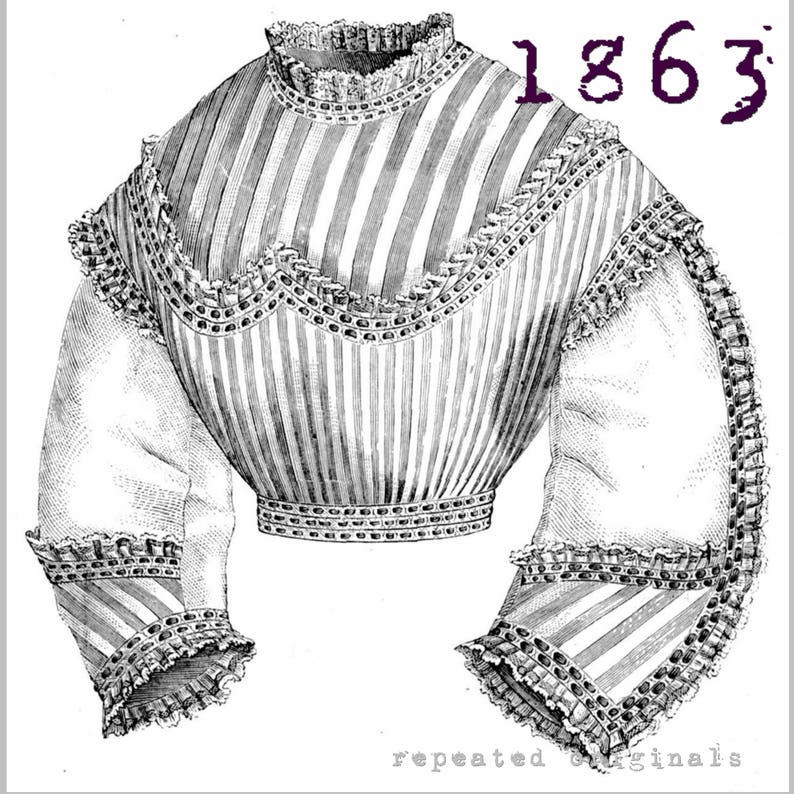
1860 pleated Garibaldi blouse
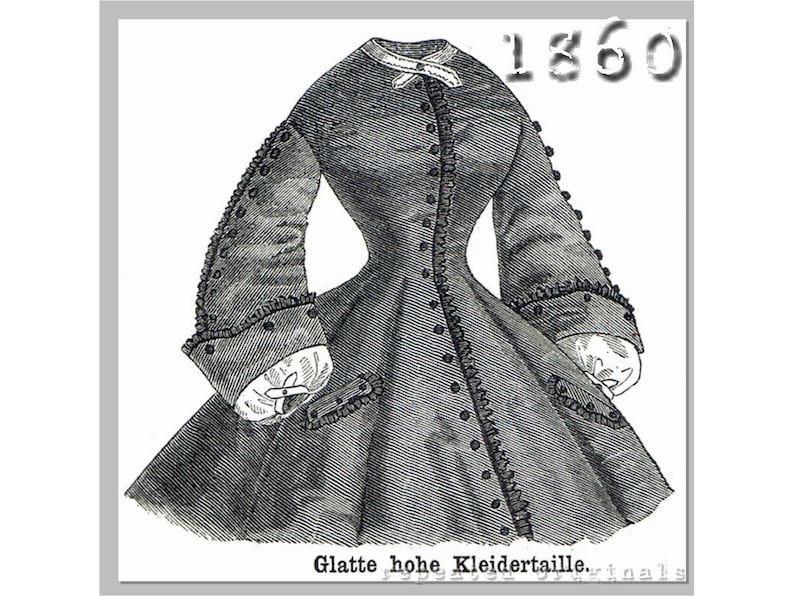
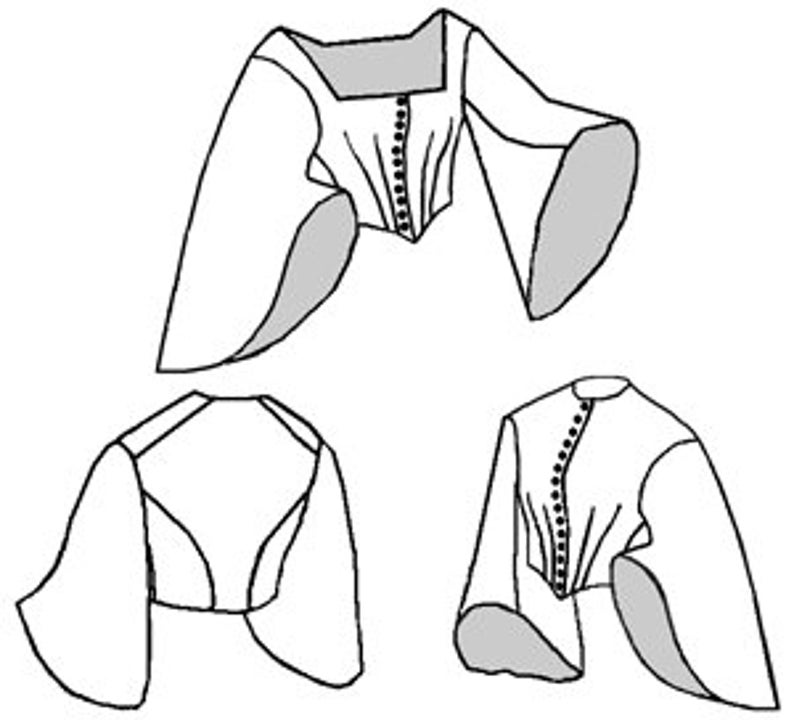
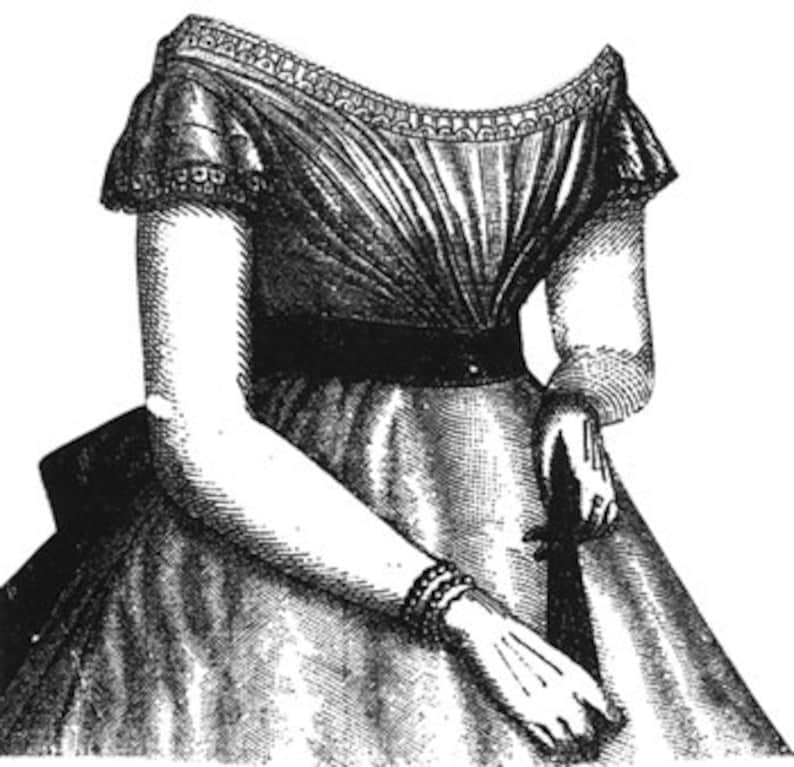
Making a bodice for a complete dress requires more sewing skills than the skirt. An easy, a historically accurate way to avoid sewing a bodice is to wear a blouse. You could find a white blouse in the civil war era Garibaldi blouse style from a thrift store. This is a very basic and versatile first look.
These blouses had low armscyes (sleeve holes) and loose fitting sleeves and body. They were usually collarless and had buttons up the front (or back). They came in many colors and patterns. They did not always match the skirt, but sometimes…..they did. Thrift stores are great places to start! Some other options are “Lolita” style costume blouses (runs small, order up one or two sizes.)
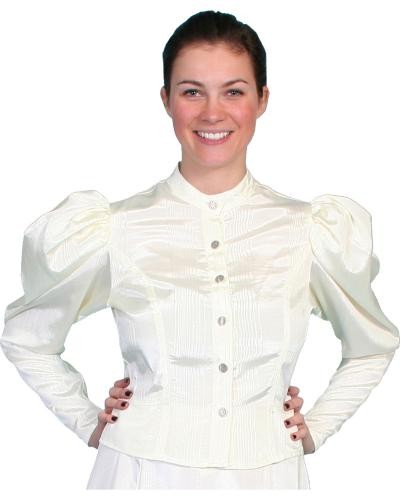
Repro Victorian Blouse
Medici Belt
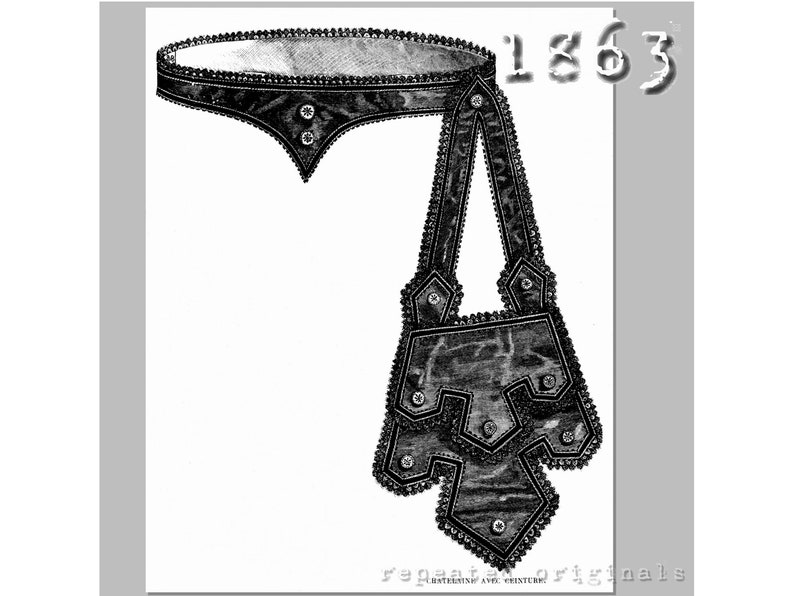
A Medici belt is another wonderful accessory that is worn between the skirt and blouse. They came about through the Italian Medic family. I bought mine on eBay. You can find them for sale on etsy. They can come in many shapes and colors.
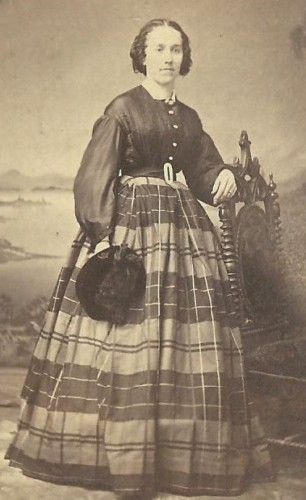
1860s belt with large gemstone buckle
A simple wide piece of cotton stiffened with interfacing and finished on the top and bottom edges can work. You simply tie it on your waist. They’re great for hiding things at waist level, making things look good, and highlighting a Victorian corseted waist.
If you choose to go without a corset, the belt can help hide this making you somewhat appear to have a smaller waist, similar to what the corset could give you.
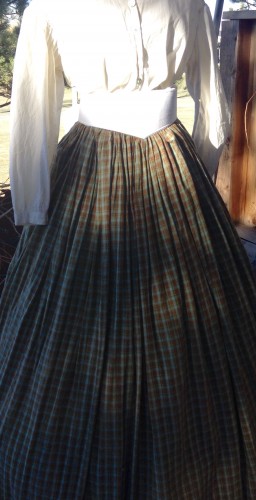
Medici Belt (front)
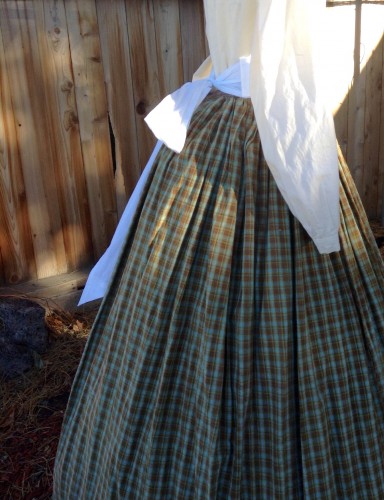
Medici Belt (Back)
Civil War Fabric and Colors
Prints were small geometrics and florals and large plaids. Quilters cotton is always good. Silk and wool can be tricky, not only to work with, but certain types available today weren’t available then (like Silk Dupioni). Solid colors are always great! Shop with coupons!
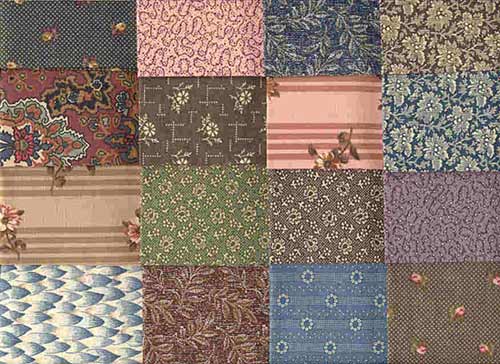
Civil War Era Fabrics via Mouse House
Alkaline dyes were just coming in around this time, so try to stay away from bright oversaturated colors. Stick to muted or natural colors. Colors you might find in nature.
Some good color options are Indigo blue, shades of muted red, plus dull lavenders and many browns, golds, green, and grey.
“Dating Fabrics” by Eileen Trestain is a good reference book for this. Online look at antique dresses from the era keeping in mind colors do fade with age. Take coloreds prints from the era with a grain of salt because they were often brighter than reality.
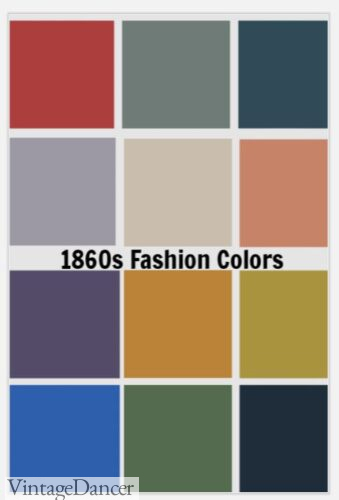
1860s fashion colors for women
Undergarments are a Must
It is always recommended that one starts from the inside and works their way outward. This means getting a period accurate foundation and building on to it. This includes chemise, drawers, corset, corset cover (optional), hoops or corded petticoat, and petticoats (2-3 recommended).
Some of these items aren’t necessary and you can find suitable substitutes for others in your local thrift store (to be discussed in detail later in this article).
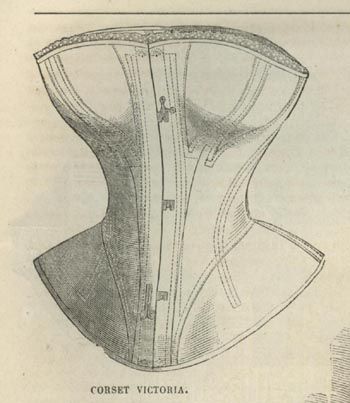
1862 full bust corset
The absolute necessary undergarment is a corset. You could try a boned bridal or fantasy corset for your very first one. You could always easily replace the plastic ones with spiral steel bones later. Plastic boning can be to flexible and uncomfortable and not give your body a good shape or proper support.
With all the weight on your waist from skirts, hoops, and petticoats; a good sturdy corset is a must! I speak from experience here, you don’t want to end up with rashes on your sides. A good corset with metal bones will evenly distribute the weight across your waist.
Another tip to keep in mind when shopping for a ready-made corset are gussets. They’re those triangle bits where the bust and hips may be. They will be your friend for a good fit and comfort. Many store-bought corsets can be uncomfortable….especially over the hips. However, you don’t need a custom one when you’re first starting out. You can get a fairly inexpensive corset and be fine.
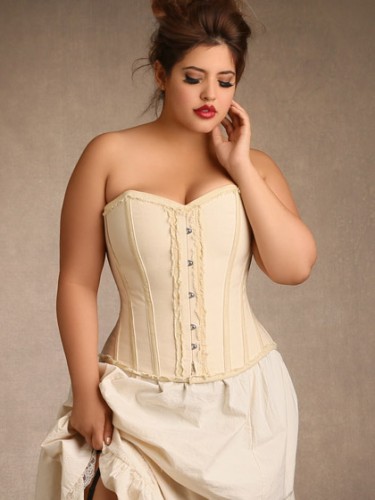
A Quality Steel Bone Corset will cost $100 or more
You don’t always need steel bones. You can make-do with thick plastic zip-ties. My Edwardian corset has them. Some of my bodices actually have wooden basket weaving reeds doubled up in the boning channels. Basket weaving reeds come in different width. I personally like the 1/2 ones.
If you are having trouble with the chemise for underneath your corset, just go with a modern tank top. Remove the straps if they are going to show under your dress. You just don’t want your corset to pinch your skin. If you cannot wear a corset for whatever reason, modern shapewear can help you get a smooth enough look (eh hem, a girdle).
Of course, you may want to wear less layers in this case for the reason mentioned above and that’s fine. You want to focus on an hourglass type shape for the torso. Boning in your dress bodices can help too. It will help smooth things out and give you a nice historical silhouette. IF you do choose to use modern shape wear be sure to wear a bra that lifts up. Saggy boobs will look flat under all the dress layers.
Corsets are not as restrictive as Hollywood would like you to think. They’re supposed to just hug your body. You generally don’t lace them up as tight as you can. You lace them up just enough to keep it on and supporting you where you need it with about a 2-4 inch gap in the back where the lacing is. And, you can eat and breathe in one!
A well-made corset will support your bust as well as your back. You should be able to stand comfortably for longer periods of time in one since it will support your back. They do not crush your ribs or lungs and will not displace your organs to an unhealthy level. (They do a little, but your internal organs easily go back to normal once you remove your corset. It is not permanent.)
Put your corset (and shoes- shoes before corset) on a few hours prior to putting on your clothing. If possible, do your hair and makeup in it. Let your body get used to it. Just as you took your time putting it on, do the same for taking it off. Allow your body the time to adjust to it.
Don’t try for a teeny tiny waist. Just let the corset naturally and comfortably support you and form your body into a fashionable shape. Movement will not be as restricted as you think either. You can move and do just about everything you can now while in a corset. It’s just, the process of getting there will be slightly different and take some getting used to.
Shop custom made corsets, costume corsets and corset sewing patterns.
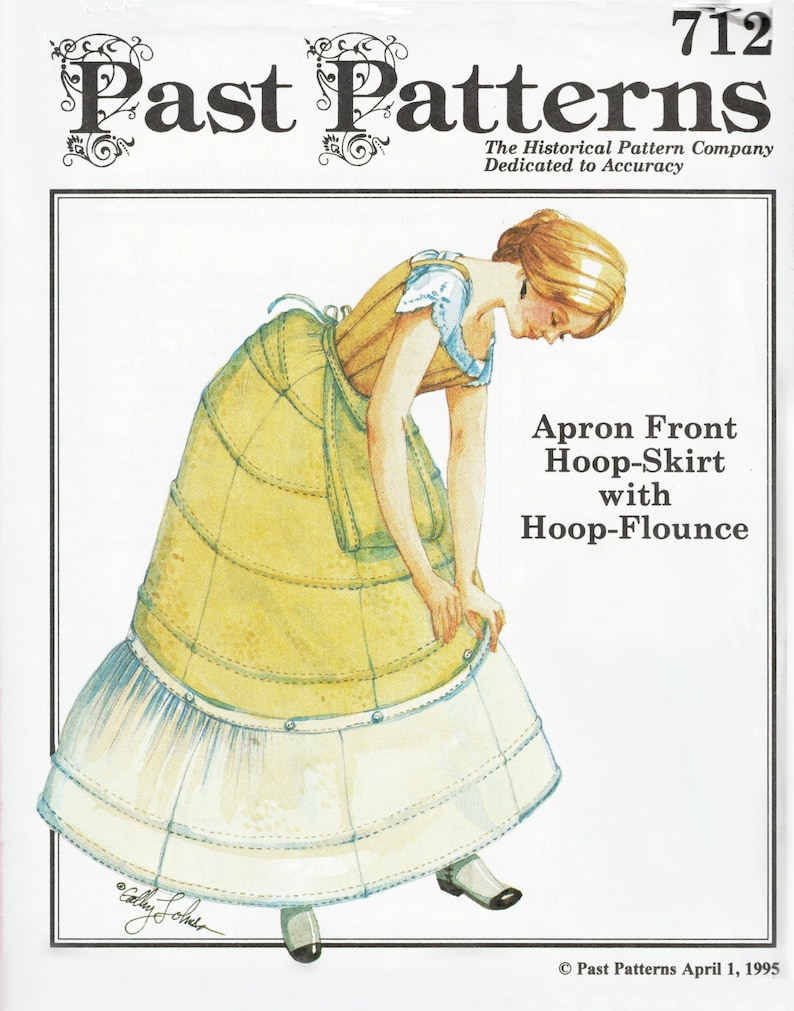
Hoop Skirt
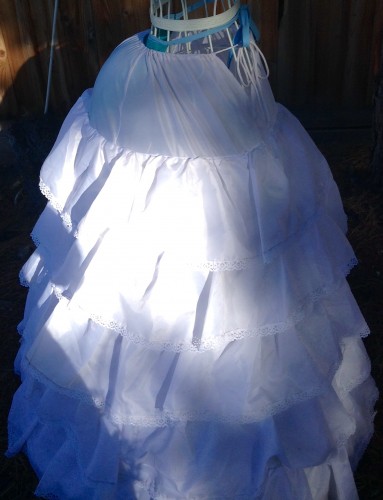
Bridal hoop Skirt with ruffled Petticoat
For the hoop, you could try a cheap bridal hoop. I’d recommend one with at least 6 metal rings so you get the correct shape. Otherwise, you’ll end up with what historical reenactors term, the dreaded lampshade effect. Mine is a bridal hoop with ruffles over each of the channels. It has a drawstring waistband and for mid-1860s styles, I bunch all the gathers towards the back with the opening towards the front and I get a bit of an elliptical shape with a flatter look in front!
Just be sure your skirt will fit over your hoop and petticoat and not look smooshed. Many bridal hoops make it possible to adjust the circumference of the metal rings. This has been helpful for me in the past when I’ve had limited materials and had to make a skirt with a smaller hem circumference than what is usual for me.
You could also just wear 2-3 petticoats or make yourself a corded one (I made one for 1830s and they’re really easy, just very repetitive with sewing in all the cords). This will give you a period accurate working girl or camp look. Many reenactors will ditch the hoop like this.
Shop more hoop skirts and petticoats.
Petticoats
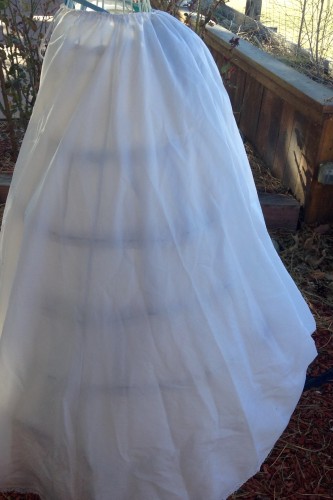
Light Petticoat over Hoop
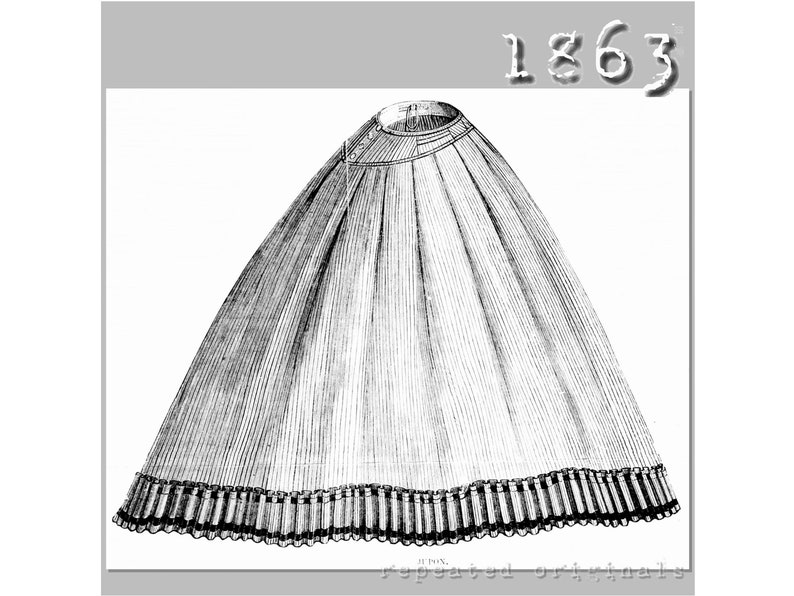
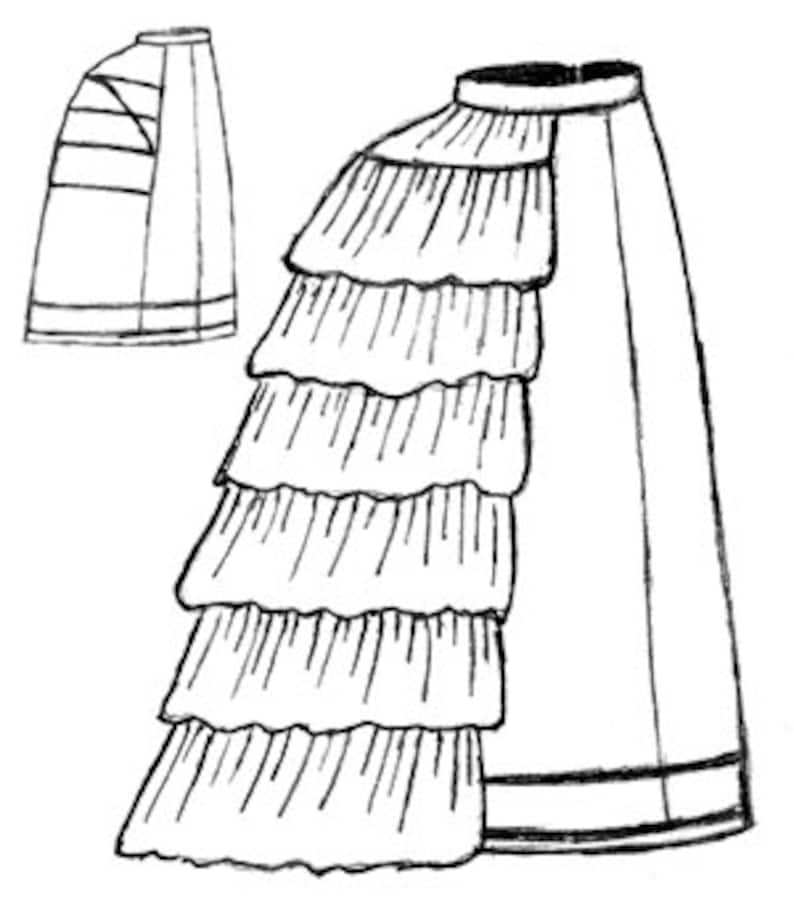
For your petticoats…or even your dress skirt itself, you could use giant bridal skirts from the thrift store. My only white one that I always use with my sheer gowns was a skirt I found at a thrift store with a big hem circumference. (Be mindful of the hem circumference.) I just replaced the elastic waistband with a tie on drawstring one. If you go this route for your outer most skirt that is seen, do a bit of research and be sure your skirt at least looks accurate.
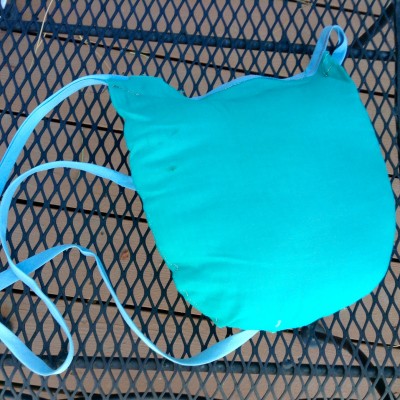
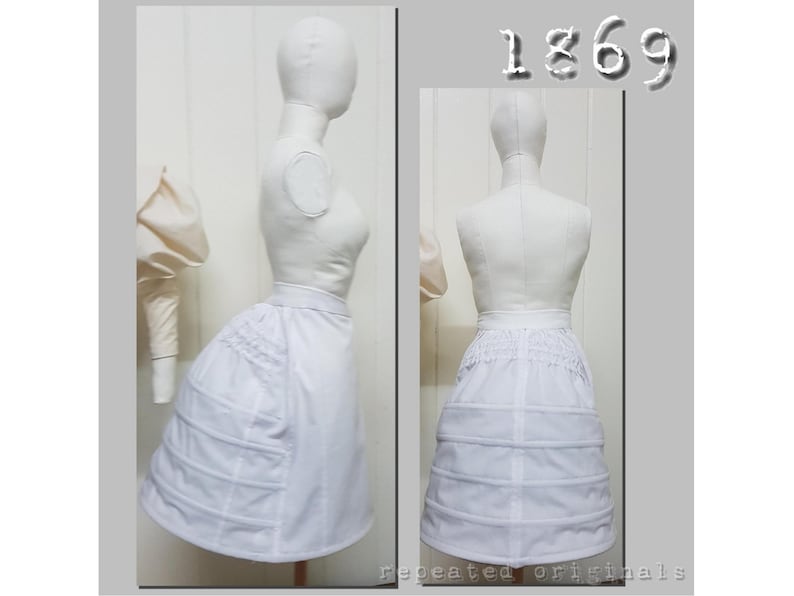
DIY Bustle Pad
Bustle pads are best for use during the second half of the civil war period. They help aid with the elliptical shape; leading to the bustle years beginning at the end of the1860s. They are fairly easy to make. Mine was just two half oval like shapes stitched together and stuffed with bias tape waist ties added.
If you have things like undergarments from another era already, I’d say as long as they don’t affect the look of what’s on the outside or show, use them! Most groups I’ve encountered don’t care as long as you look like you made an effort for your first ensemble. However, it is always a good idea to ask the group about it.
Don’t stress too much about accuracy. Find places you can wear your new dress and ask questions. Learn from others by talking to them. This is a fun hobby that we learn through enjoying.
Many of us do have sub-par outfits at first, but we steadily improve upon them over the years…better undergarments, learning to make ourselves a custom corset, better materials, getting the construction details correct on our costumes, etc. It takes time. But, the journey is a fun one!
Civil War Ladies’ Hats
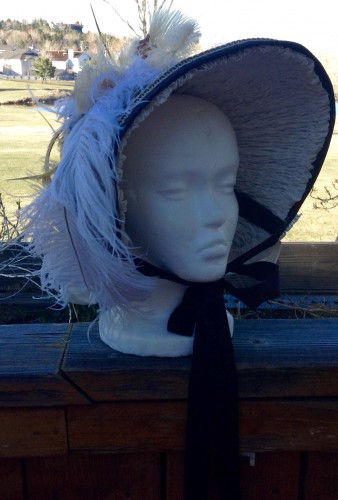
Redecorated Bonnet
You will need some sort of head covering for anything before the late 1860s when outdoors. I bought a decent looking plain felt bonnet from a costume shop and decorated it with flowers and feathers glued on. I still use that bonnet sometimes. You could also try purchasing a cheap straw or felt hat and turn it into a bonnet.
Other simple hat-less options are to gather your hair back into a bun (use a faux bun or braided hair piece if you have short hair). For fancier occasions pin flowers and leaves to your hair like a crown. The dollar store has cheap flowers that when dyed in black tea will give them an aged look.
Shop Victorian style hats, bonnets, and hair accessories. Learn about Victorian hat history.
Shoes
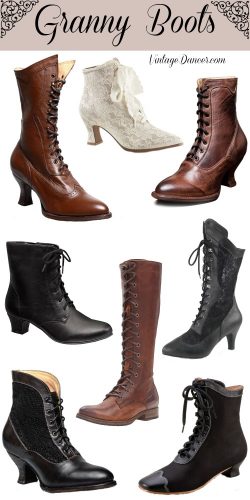
Granny Boots – Pin this!
Get yourself some good basic starter boots. Victorian styles laced up to above the ankle and usually came in black leather for day wear. My first pair were from Goodwill. Remember, with shoes, you only see very little of them. But, you will want a pair of boots that look close to accurate.
Accessories
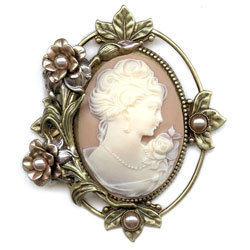
Victorian Jewelry
As for accessories, this is where you can have a lot of fun. Victorian women seemed to have layers and layers of accessories. Start with simple jewelry. There are a few brands of Victorian costume jewelry made today that are cheap and yet look good. Try adding a cameo brooch to your blouse, an ornate necklace, and some rings for upper class looks. Learn more about Victorian costume jewelry here.
Gloves are very important as well, at least for a Lady. If you want a working class costume you don’t need to wear gloves. Short wrist length white gloves in leather are ideal but from experience, cotton lace gloves are much more breathable. Shop gloves.
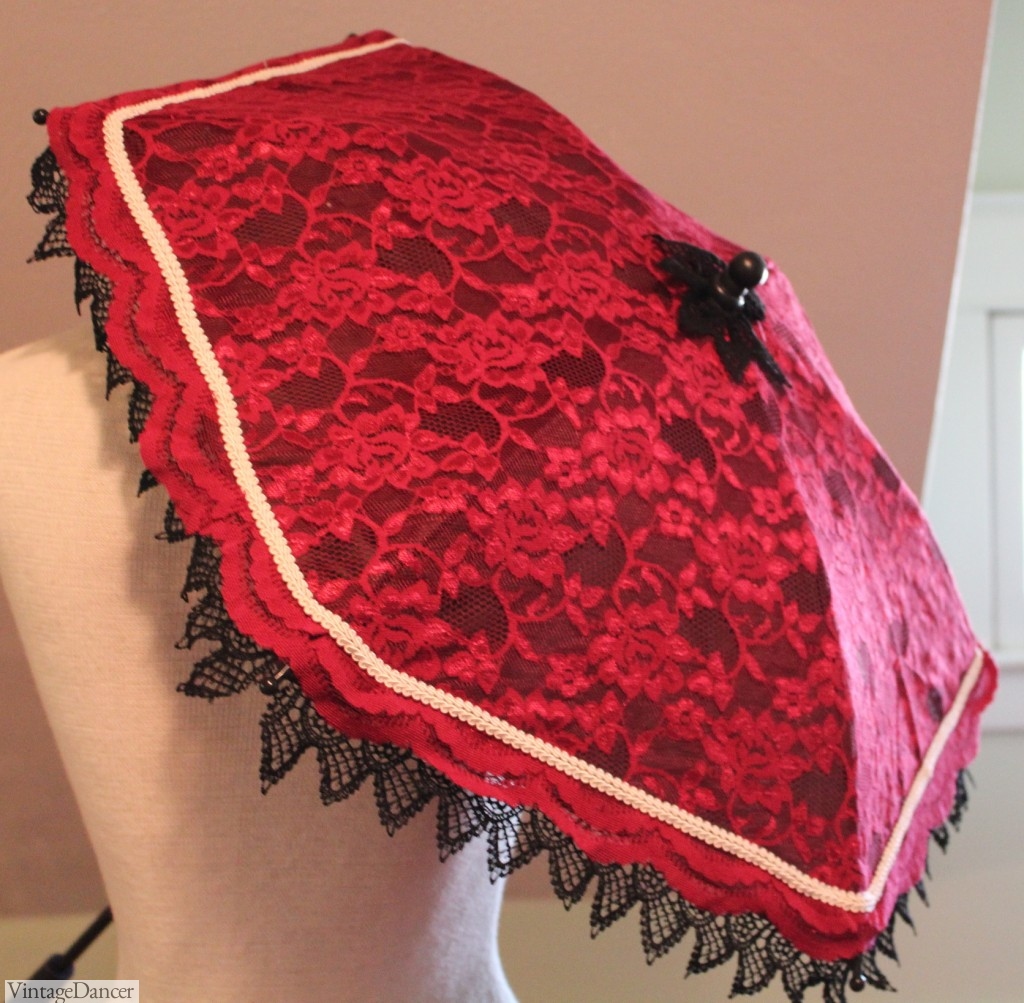
Victorian Carriage Parasol
A parasol is another pretty and useful accessory. They are great shade providers in the hot summer months. A cheap costume parasol can easily be redecorated to create a matching look. See here for how Debbie made a Carriage Parasol. You can also use a fan to stay cool. Nearly any cheap lace or wood fan you can find will work for this era. Shop parasols and fans.
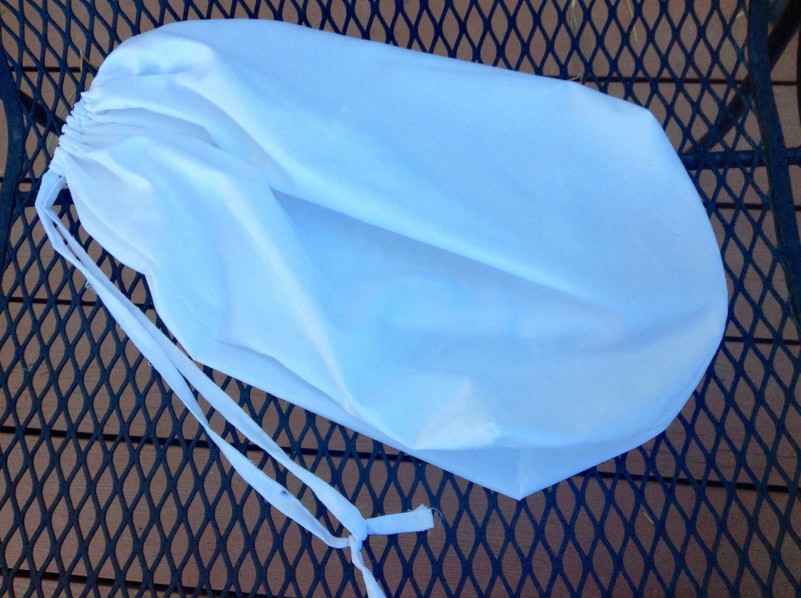
A simple bag to hide modern amenities
Just as parasols and fans are easy accessories to acquire that can make your outfit look more Victorian, so is a bag to hide your modern car keys and cell phone in. Not to mention the convenience. While civil war era appropriate bags can get quite big and fancy, you really only need a small drawstring bag. Mine is a cover to a sheet set I bought. Get creative. So many items around you can be used as part of your civil war ensemble.
Victorian Makeup- Makeup was largely unacceptable for women in the Victorian era. However many women, especially young women, or women with blemishes turned to beauty routines and some face powders and lip tint to create a fresh natural appearance. Makeup should never look modern and when possible use reproduction makeup for the most accurate look. Read the Victorian Makeup and Beauty Guide here.
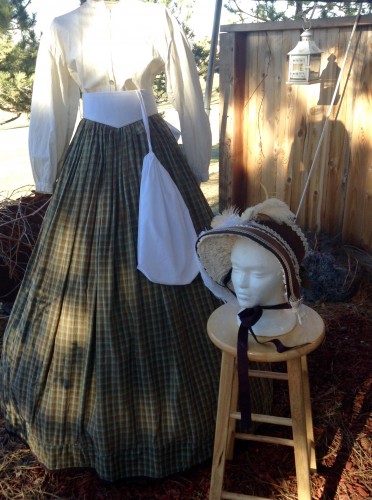
All Together Now
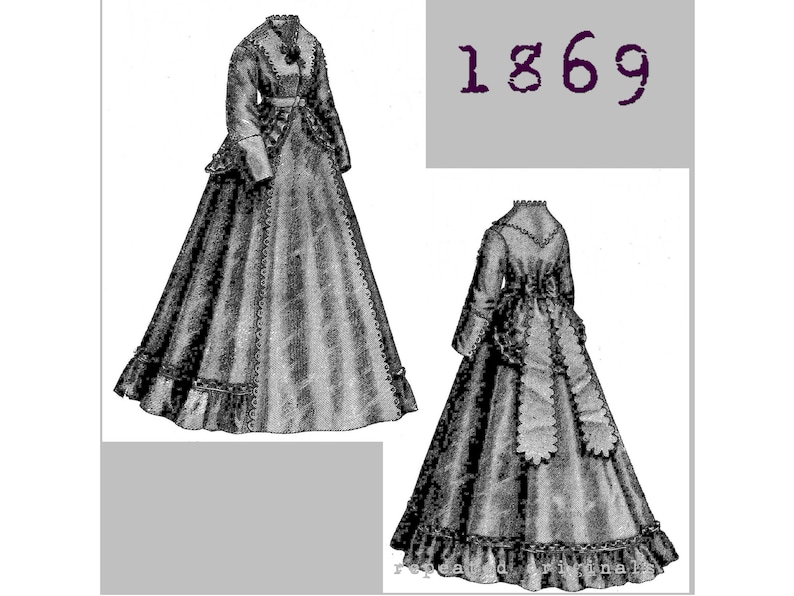
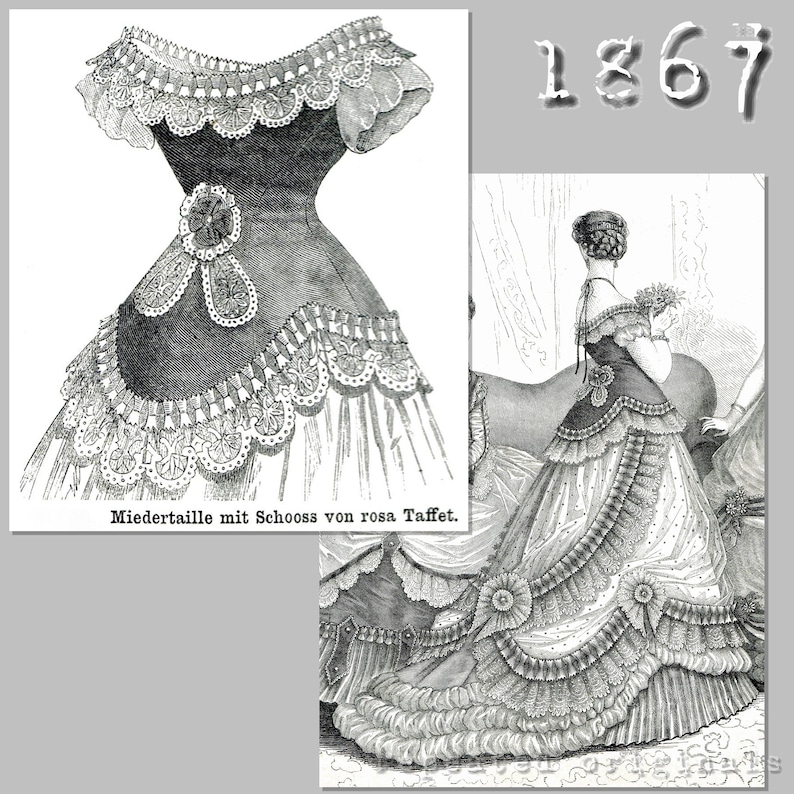
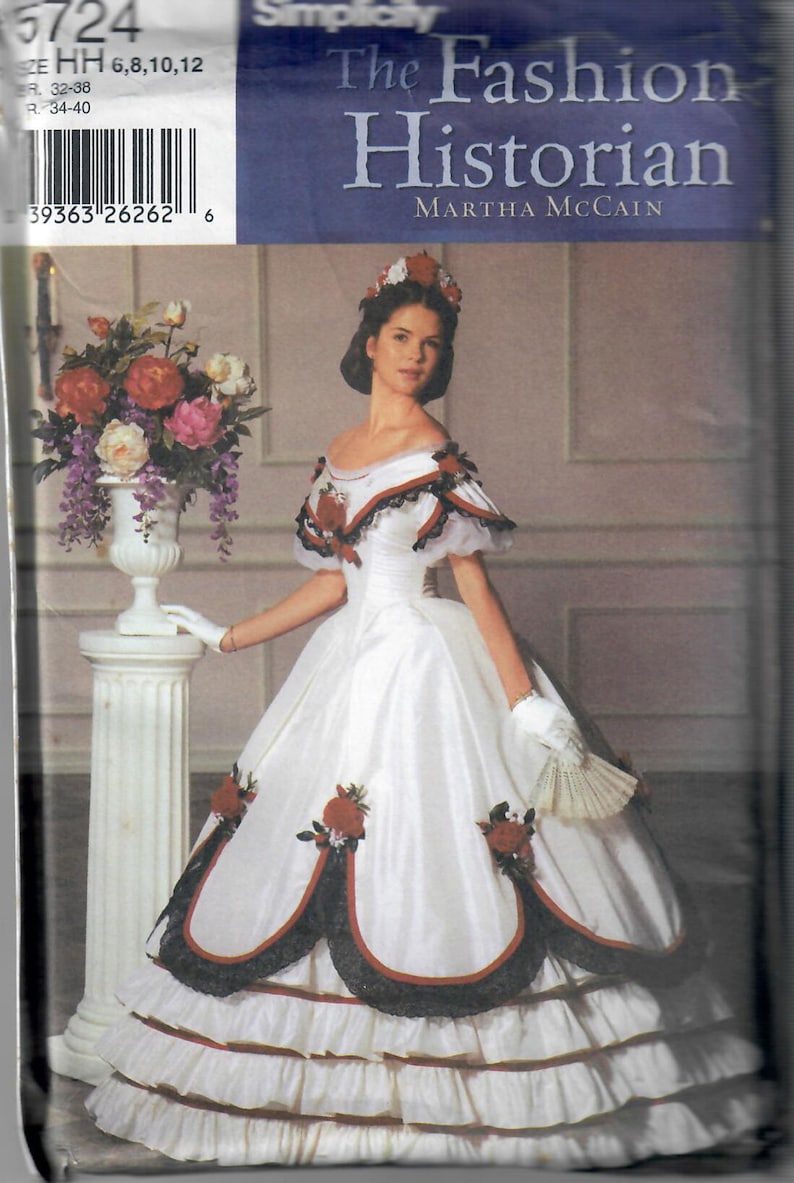
Victorian Era Sewing Patterns
Good luck with your very first civil war ensemble!
Debbie Sessions has been teaching fashion history and helping people dress for vintage themed events since 2009. She has turned a hobby into VintageDancer.com with hundreds of well researched articles and hand picked links to vintage inspired clothing online. She aims to make dressing accurately (or not) an affordable option for all. Oh, and she dances too.


